

Project
-
Latent Vignettes
Tools
-
Unreal Engine
Blender
ARKit
Description
-
Latent Vignettes is a visual montage of liminality stitched together with match cuts and is my first piece of work in Unreal Engine.


Pre-production: Avatar Creation
Trying different avatar creation tools as well as exporting and rigging workflows

Reallusion Character Creator had one of the most high fidelity tools but the FBX export functionality was restricted to paid users only

Daz3D had a large repository of customization options but most were paid. I also found the default Genesis8 face to be a bit too anime

I settled on the brand new Blender plugin HumanGenerator, which had great skin texture and bone structure. The only drawback was the hair was generated with particles and could not be exported. However, I was planning on having a bald character so that didn’t matter

The character was exported in FBX and I used Mixamo’s auto-rigger for the fastest results. I also knew I was going to be mostly using Mixamo’s animations as the Radical Motion captures weren’t precise enough

The FBX came without a texture so I had to use Cycles to bake the textures onto a PNG file to import into Unreal engine. I tried a couple of different resolutions and settled on 8K, which took about 3 hours for my CPU to render

Another fun trick I discovered was adjusting the roughness and normal values in the Blender materials editor to achieve a glossy leather look to clothing

Using different texture images for diffuse, normal, roughness, displacement to create a skin material then adding subsurface scattering

The eye process was much more complicated to achieve a glossy wet look

The final look of the avatar, which turned out pretty well

However, I wasn’t super happy with the results of the FaceIt! rig. The motions were a bit too exaggerated and since I had a macro shot of an eye I opted to try the newest Unreal 4.26 Metahumans
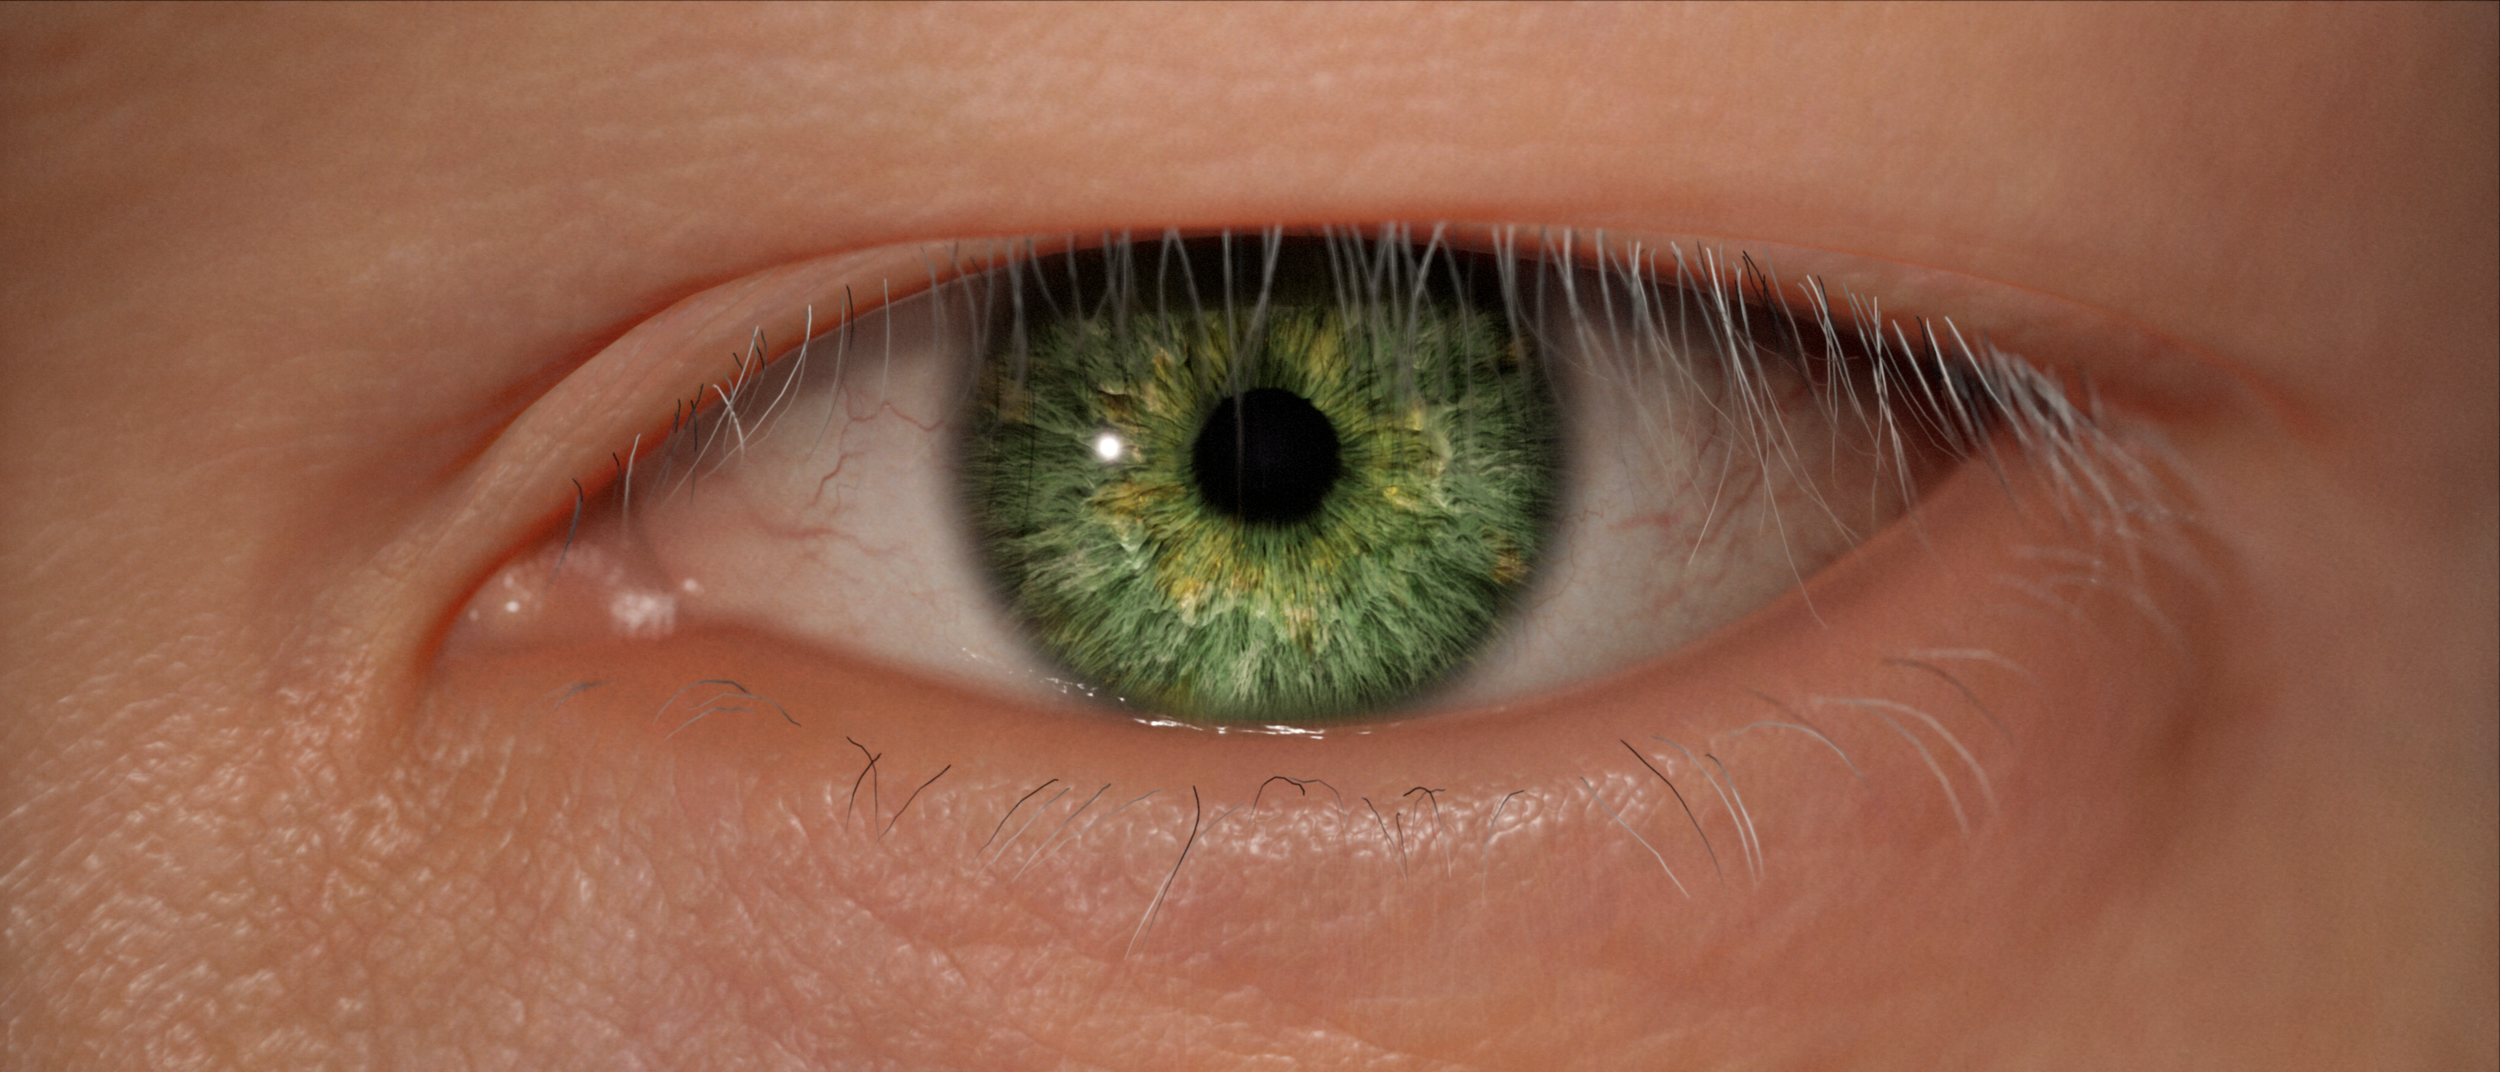
Scene 1: Oculus
Working with Metahumans and using my face as a live link


I heavily tweaked the Metahumans avatar to get the look I wanted. This process included thinning out the eyebrow and eyelash hair to create a more wispy texture as well as hand painting the iris color in Photoshop to achieve the pattern and color I wanted

The setup was a classic studio setup with a three point lighting system for a soft but bright exposure on the face

I used my face to create an animation via Live Link on my phone then used the Sequencer to record the animation while pushing in the camera
Scene 2: Enter The Void
Camera rails and color correction


I used two camera rails to create a smooth dolly effect. The camera was parented to the first rail and is tracking an empty actor positioned ahead on the second rail

I color corrected the tunnel to have a grainy green tint, matching the iris color in the previous shot. I also added a lot of motion blur to achieve the look of a speeding train
Scene 3: Free Fall
Manipulating animation


I knew I wanted to play with scale in this scene so I attached three point lights to the avatar to make it stand out in the darkness

I used a Mixamo animation of a person falling into a pool and added a time dilation track as well as keyframed the animation mesh to create movement in front of a static camera
Scene 4: Moonlight
Water bodies, volumetric clouds, and camera shake


I used the latest 4.26 water bodies to create the ocean and the volumetric clouds to create the sky. The moon was created using an emissive sphere

To mirror the previous shot, I wanted the camera to rise to the surface of the water. I tried to attach it to a buoyant object first but realized buoyancy doesn’t work for objects already submerged in water so I had to use a camera shake to simulate floating in water
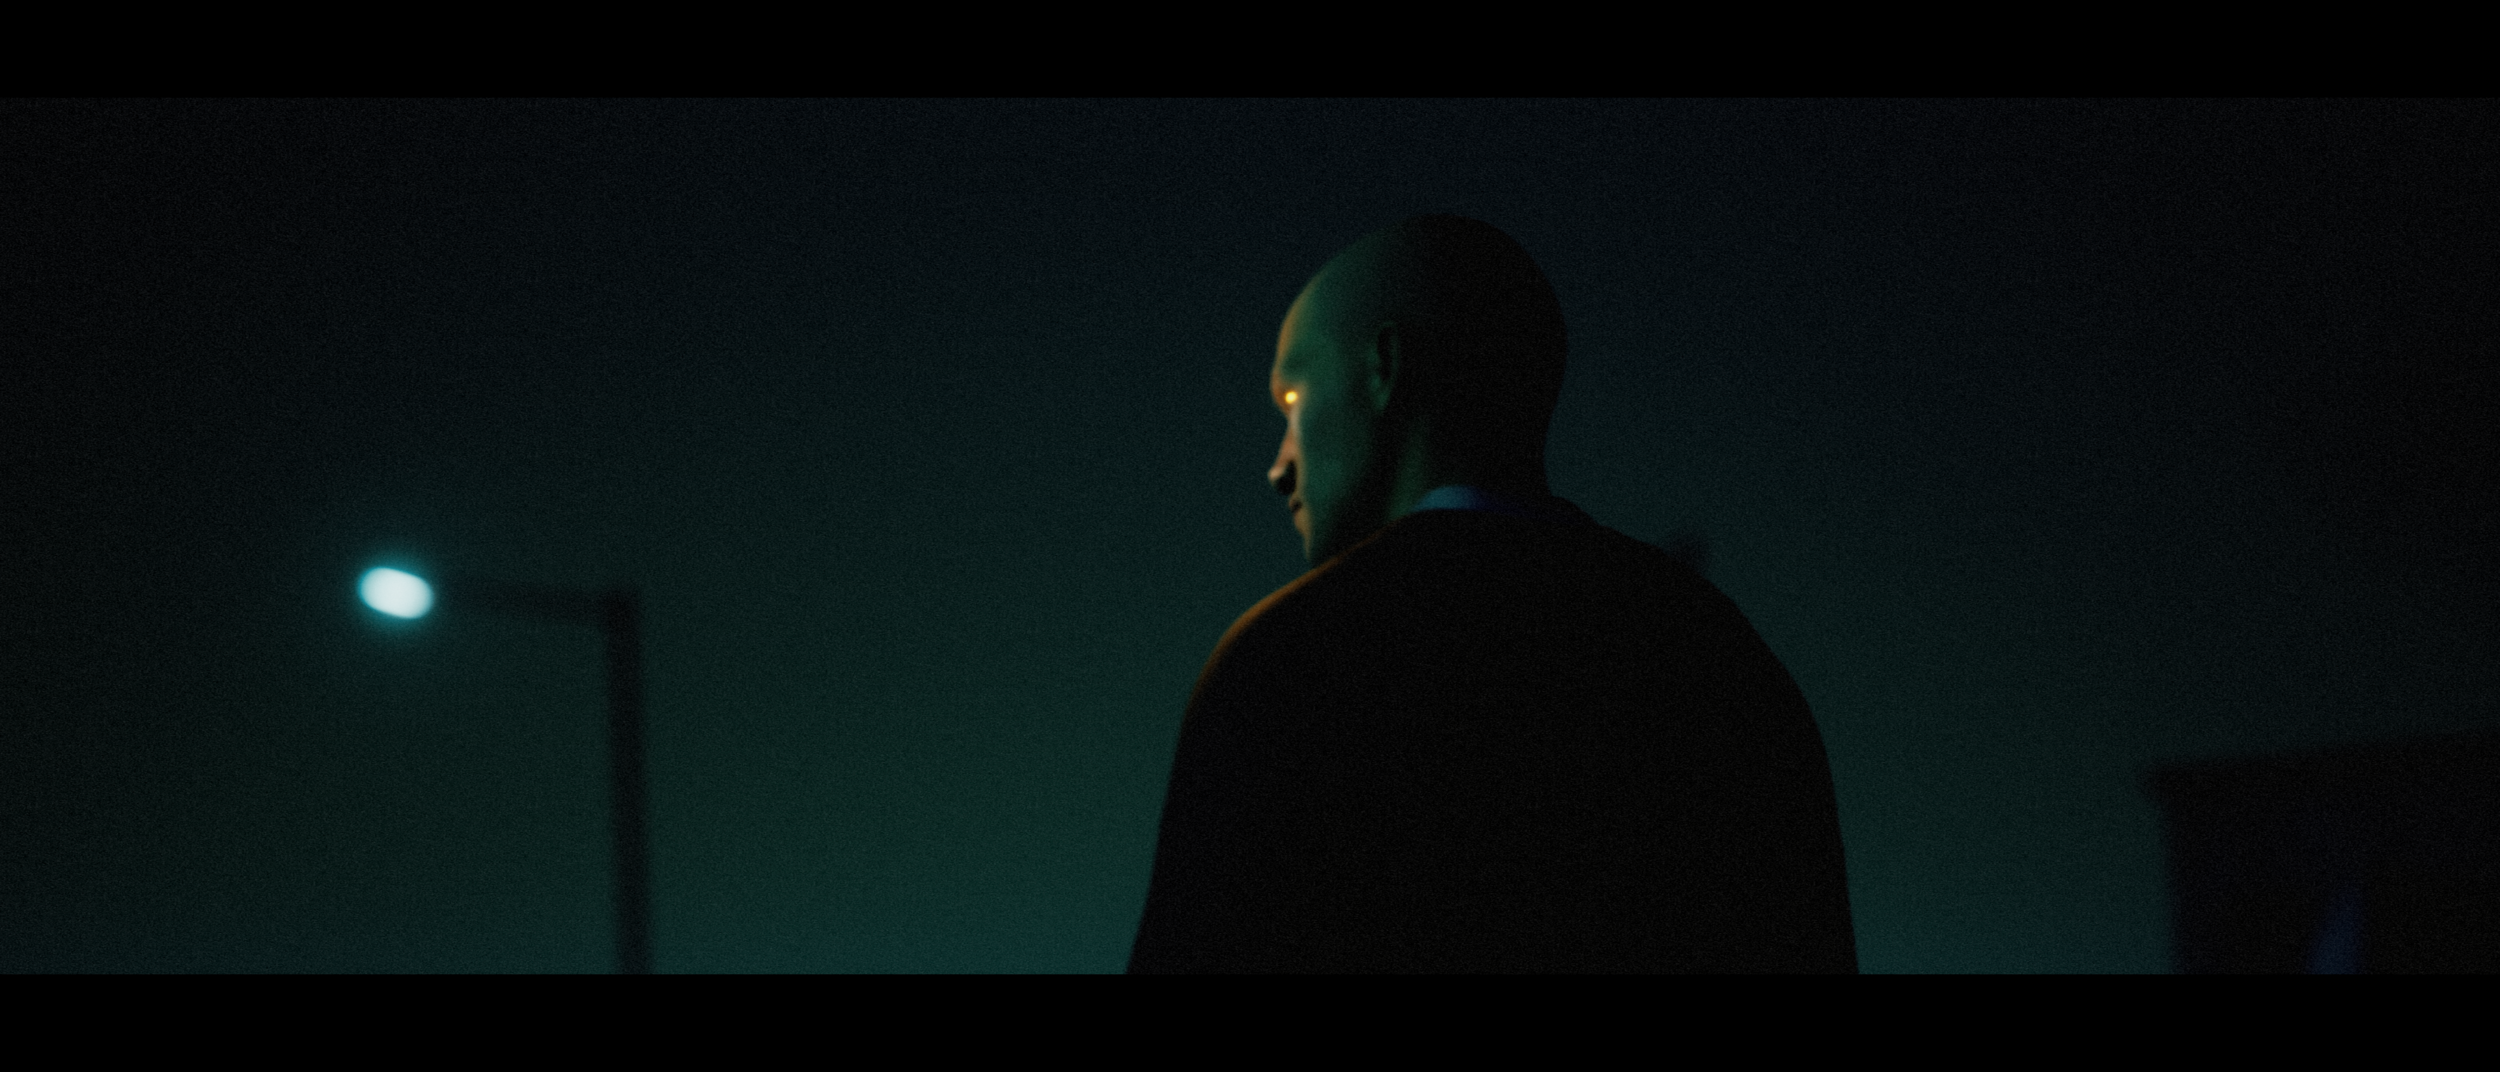
Scene 5: The Moment Before Dawn
Using the previous techniques to create mood


There were multiple subtle lights to create the mood of the background

The real challenge was keyframing the emissive material to shine brighter as the avatar turned around in the animation
Scene 6: A World On Fire
Managing particle effects and creating lighting instances


The scene was constructed by layering multiple different fire particleFX in slightly offset positions

I used a blinking lighting instance to affect a point light to create the flickering fire effect

Another consideration was to have slightly different poses for each character to make the scene more natural

I used a red atmospheric fog, a blue exponential height fog, some grain, and bloom to create a contrast that simulated a cinestill film look
Scene 7: The Woods
Camera attachment, foliage brush, and keyframing lights


Overall set dressing with a dark ominous forest environment

The trees were foliage instances painted with static meshes

The three colored lights and camera was attached to the right shoulder bone of the character, which gave me the immersive look I wanted while retaining head movement

The blades of grass in the ground that clipped into the camera ended up creating a really interesting effect that looked like the footage was being sliced open in certain areas

The flickering light was created with manual keyframing in Sequencer since I wanted maximum control over the progression of the flicker
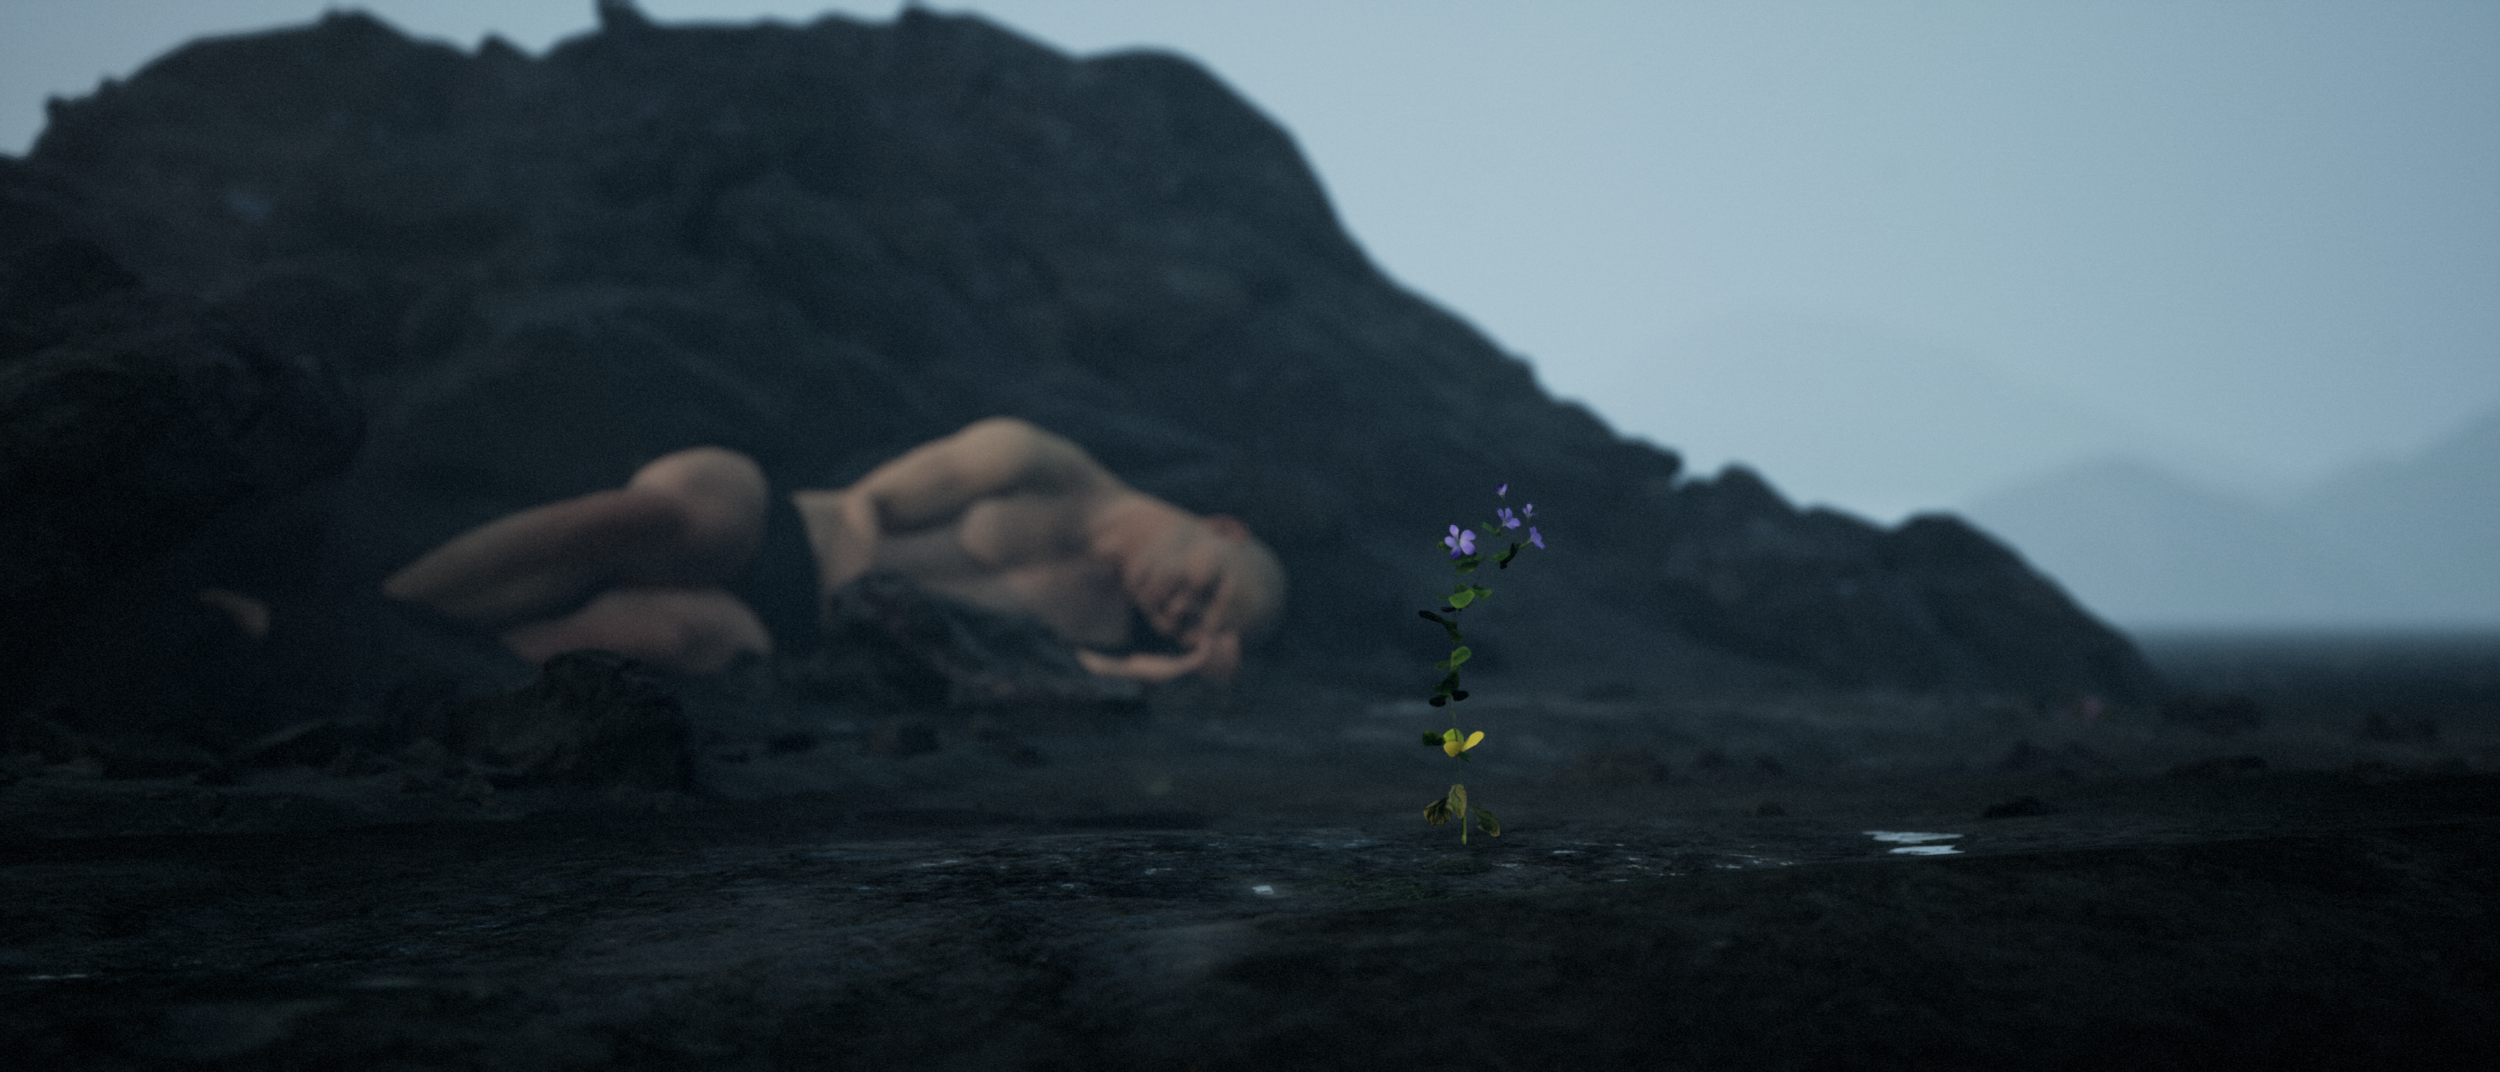
Scene 8: Life, After Death
Set dressing and landscape painting with Quixel assets


Overall set dressing with fog planes, camera, point lights, rock meshes, and landscape paintings

I used Quixel Bridge to download a ton of rock and surface scans

I waned to add some more depth to the scene so I made a plane with a penning material instance in front of the camera to simulate moving fog as well as added some dust particle effects

I used multiple Megascans textures to paint over the landscape and blended them with a cohesive albedo tint color. I also added some static meshes of rocks to create some irregularities
Still learning, more to come…